To install a tankless water heater in North Brooklyn, NY, start by checking your plumbing for compatibility and ensuring you have the right flow rate. Gather tools like a pipe wrench, drill, and safety gear. After turning off the water and electricity, remove your old heater. Mount the new unit, connect the water lines, and power it up. Finally, inspect for leaks and set the temperature. For more details on the process, keep exploring!
Understanding Tankless Water Heaters
When you’re considering a new water heating solution, tankless water heaters offer an efficient and space-saving alternative to traditional models.
Unlike conventional units that store hot water in a tank, tankless heaters heat water on demand. This means you won’t run out of hot water during a shower or while doing laundry.
They’re also more energy-efficient since they only operate when you need hot water, potentially lowering your energy bills.
Additionally, tankless models are compact and can be installed in smaller spaces, freeing up valuable space in your home.
You’ll appreciate the longer lifespan, too, as these units typically last over 20 years with proper maintenance.
Plus, they require fewer frequent repairs compared to traditional heaters. Regular assessments, such as professional diagnostics, can help maintain their efficiency and prevent costly repairs.
Preparing for Installation
Before the installation of your tankless water heater, it’s essential to assess your home’s plumbing system and verify it meets the requirements for a seamless setup.
Start by checking your existing water lines and confirm they can handle the increased flow rate that tankless systems require. You should also inspect your gas or electric supply to validate it’s sufficient for the new unit’s demands.
Next, evaluate the location where you plan to install the heater. Make sure there’s adequate ventilation if you’re opting for a gas model, and confirm the area is easily accessible for maintenance.
Lastly, review local building codes and regulations to ensure compliance. Regular maintenance prevents unexpected breakdowns and helps ensure your new tankless water heater operates efficiently from day one.
This preparation will save you time and potential headaches during the installation process. Taking these steps will help you avoid complications and guarantee your new tankless water heater operates efficiently from day one.
Gathering Necessary Tools and Materials
With your home’s plumbing system checked and the installation location evaluated, it’s time to gather the necessary tools and materials for your tankless water heater installation.
Having everything on hand will streamline the process and save you time.
Here’s a quick list of what you’ll need:
- Tools: Collect a pipe wrench, screwdrivers, and a drill. These will help you secure connections and handle any fittings.
- Materials: Purchase a tankless water heater, appropriate pipes (usually copper or PVC), and fittings. Make sure they’re compatible with your system.
- Safety Gear: Don’t forget to grab gloves, goggles, and a mask. Safety should always be a priority during installation.
Additionally, ensure that any existing drain cleaning services are performed before installation to prevent any potential plumbing issues.
Once you’ve gathered these items, you’ll be ready to plunge into the installation process with confidence.
Step-by-Step Installation Process
As you commence the installation of your tankless water heater, it’s essential to follow a systematic approach to guarantee everything runs smoothly.
Start by turning off the water supply and electricity to your existing system. Next, remove the old water heater, making sure to disconnect the plumbing and electrical connections carefully.
Now, position your new tankless unit on the wall, using a level to verify it’s straight. Secure it with the appropriate mounting hardware.
Connect the hot and cold water lines, making certain to use Teflon tape for a watertight seal.
Next, install the gas line or electrical connection, depending on your heater type, while adhering to local codes. Regular maintenance of your sump pump can help prevent unexpected flooding during installation.
Finally, turn the water supply back on, check for leaks, and power up the unit. Follow the manufacturer’s instructions for initial setup, and you’re all set for hot water on demand!
Final Checks and Maintenance Tips
Once you’ve installed your tankless water heater, it’s crucial to conduct a few final checks to guarantee everything operates smoothly. This secures safety and peak performance.
Here’s a quick checklist to follow:
- Inspect Connections: Double-check all water, gas, and electrical connections for any leaks or loose fittings. Tighten as necessary to prevent issues down the line.
- Test Water Flow: Turn on a hot water faucet and gauge the flow rate. Verify it matches the specifications of your unit; this confirms your heater is functioning properly.
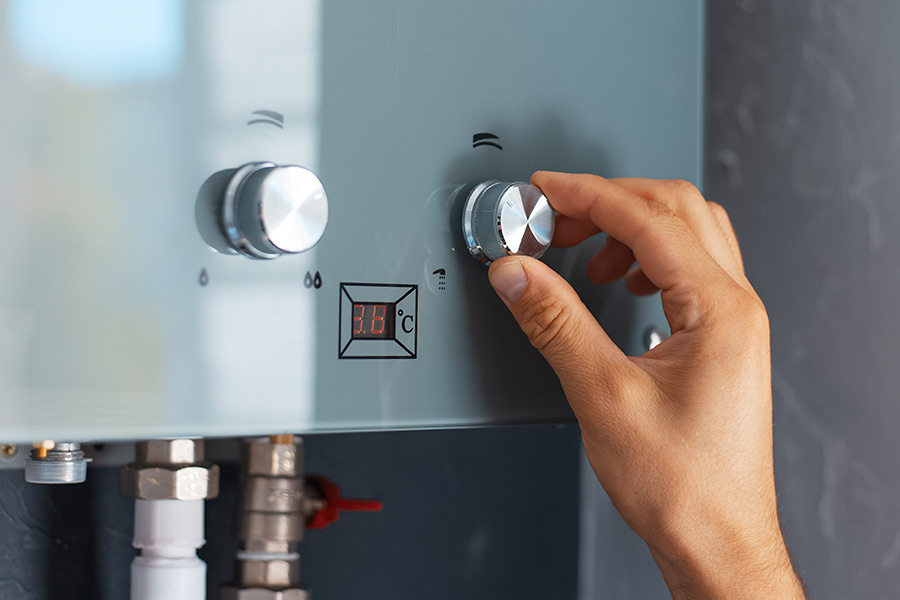
- Check Temperature Settings: Adjust the temperature settings to your preference; usually, around 120°F is ideal for most households. This helps prevent scalding and saves energy.
For maintenance, remember to flush your system annually to remove scale buildup and check the filter regularly for cleanliness.
Following these steps will help you enjoy your tankless water heater for years to come!
Conclusion
By upgrading to a tankless water heater, you’re not just installing a new appliance; you’re opening the door to a steady stream of comfort and energy efficiency. Think of it as planting a seed that grows into a flourishing garden of savings and convenience. With your new system in place, you’ll enjoy the luxury of hot water whenever you need it, transforming your home into a sanctuary of warmth. Embrace this change and let your hot water experience blossom!